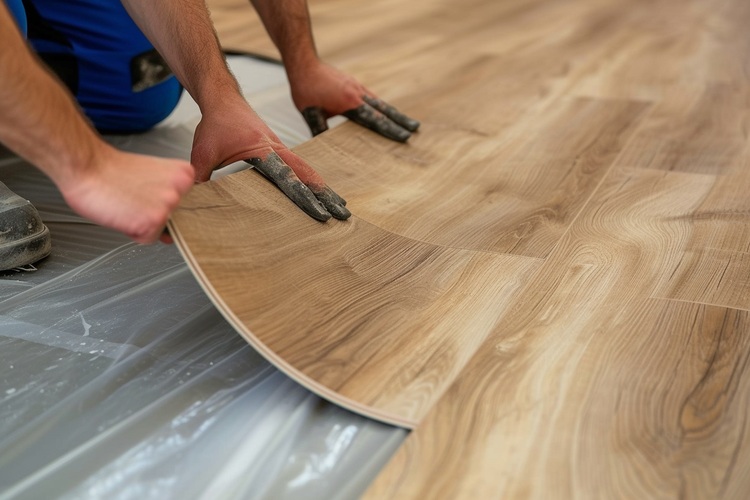
Complete Guide to Professional Flooring Installation
Installing new flooring transforms any space, but understanding the process, preparation requirements, and material options ensures successful results. Whether you're considering DIY installation or hiring professionals, knowing the differences between laminate, vinyl, and hardwood flooring helps you make informed decisions. This comprehensive guide covers everything from initial planning to final installation, helping homeowners navigate their flooring project with confidence.

Complete Guide to Professional Flooring Installation
Choosing and installing new flooring represents one of the most impactful home improvement projects. The right flooring enhances your home’s aesthetic appeal, increases property value, and provides years of functional beauty. However, successful installation requires careful planning, proper preparation, and understanding of different material options and installation methods.
Understanding the Flooring Installation Process
The flooring installation process follows several critical steps that determine the final outcome. Initial assessment involves measuring the space, evaluating subfloor conditions, and identifying potential challenges like uneven surfaces or moisture issues. Professional installers typically begin by removing existing flooring, cleaning the subfloor thoroughly, and making necessary repairs.
Acclimation represents a crucial step often overlooked by DIY enthusiasts. Most flooring materials need time to adjust to room temperature and humidity levels, preventing expansion or contraction after installation. This process can take 24-72 hours depending on the material type and environmental conditions.
How to Prepare for Flooring Installation
Proper preparation significantly impacts installation success and longevity. Start by clearing the room completely, including furniture, decorations, and existing floor coverings. Inspect the subfloor for squeaks, loose boards, or damage that requires repair before installation begins.
Moisture testing is essential, especially in basements or areas prone to humidity. Use a moisture meter to check subfloor moisture levels, as excessive moisture can cause warping, buckling, or mold growth. Address ventilation issues and consider moisture barriers when necessary. Additionally, ensure proper room temperature and humidity levels during installation and for several days afterward.
Laminate vs Vinyl Flooring: Key Differences
Laminate and vinyl flooring offer distinct advantages for different situations. Laminate flooring consists of multiple layers including a photographic layer that mimics wood or stone, topped with a protective wear layer. It provides excellent durability and realistic appearance but cannot withstand moisture exposure, making it unsuitable for bathrooms or basements.
Vinyl flooring comes in two main types: luxury vinyl plank (LVP) and luxury vinyl tile (LVT). Modern vinyl offers superior water resistance, making it ideal for kitchens, bathrooms, and basements. It’s softer underfoot than laminate and often easier to install with click-lock systems. However, vinyl can show scratches more easily and may fade in direct sunlight over time.
DIY vs Professional Flooring Installation
Deciding between DIY and professional installation depends on several factors including skill level, available time, and project complexity. DIY installation can save labor costs, which typically range from $3-8 per square foot depending on material type and regional rates. Simple click-lock systems make DIY installation more accessible for motivated homeowners.
Professional installation ensures proper technique, warranty coverage, and efficient completion. Professionals have specialized tools, experience with challenging layouts, and knowledge of local building codes. Complex projects involving multiple rooms, intricate patterns, or subfloor repairs often benefit from professional expertise. Additionally, many flooring warranties require professional installation to remain valid.
| Installation Type | Cost Range (per sq ft) | Time Required | Warranty Coverage |
|---|---|---|---|
| DIY Laminate | $1-3 materials only | 2-3 days | Material only |
| Professional Laminate | $4-8 total | 1 day | Full warranty |
| DIY Vinyl | $2-4 materials only | 1-2 days | Material only |
| Professional Vinyl | $5-10 total | 1 day | Full warranty |
| Professional Hardwood | $8-15 total | 2-3 days | Full warranty |
Prices, rates, or cost estimates mentioned in this article are based on the latest available information but may change over time. Independent research is advised before making financial decisions.
Hardwood Flooring Installation Considerations
Hardwood flooring installation requires the most expertise and specialized equipment. Solid hardwood needs nail-down installation over plywood subfloors, while engineered hardwood offers more installation options including floating, glue-down, or nail-down methods. Site-finished hardwood requires sanding and finishing after installation, adding time and complexity to the project.
Moisture control is critical for hardwood success. Subfloor moisture content should not exceed 12% for solid hardwood or 14% for engineered products. Proper acclimation typically takes 3-7 days, and installation should occur during stable weather conditions. Professional installation ensures proper expansion gaps, correct nail placement, and appropriate finishing techniques.
Maintenance and Long-term Care
Regular maintenance preserves your flooring investment regardless of material choice. Sweep or vacuum regularly to remove dirt and debris that can scratch surfaces. Use appropriate cleaning products designed for your specific flooring type, avoiding harsh chemicals or excessive water.
Establish preventive measures like entry mats, furniture pads, and humidity control to minimize damage. Address spills immediately and refinish hardwood floors every 7-10 years to maintain their appearance. Vinyl and laminate floors typically last 10-20 years with proper care, while quality hardwood can last decades with appropriate maintenance.
Successful flooring installation combines careful planning, proper preparation, and appropriate material selection. Whether choosing DIY or professional installation, understanding these fundamentals ensures your flooring project delivers lasting beauty and functionality for years to come.


